
BeaterCore Field Repair
Pack for three heats. The store is a map away.
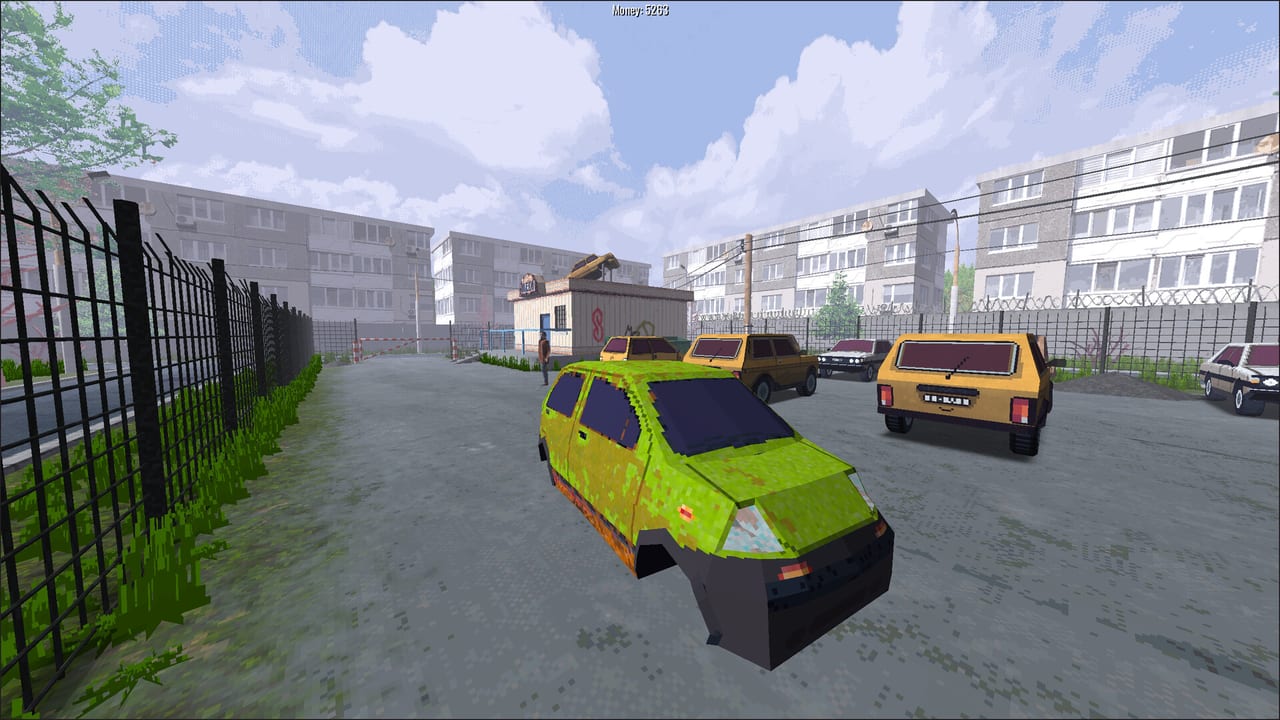
BeaterCore events are not one flag and a trophy screen. A typical career booking is a short campaign of three heats, and the clock that actually matters is the field-repair window between them. You are still in the same rusty car. Damage carries. Trunk volume is small. If heat one ate a tire and you packed a lamp instead of a spare, heat two is a walk home.
This page is the packing list. The garage repair guide covers the first-person workshop at home, where you can stockpile on shelves and take your time. Field repair is what you can still do when the next race is already queued and the auto parts store is a hub map away.
How a three-heat event actually works
You stage the car in the garage, drive the hub, and enter an event — a cleaner time trial or a contact race. After heat one you get a short window to walk around the car, open the trunk, and swap whatever you brought. There is no pause-menu “repair all.” Interact is E on keyboard or X on a pad, the same prompt you used to pull wheels in the prologue. Walk with WASD, sprint with Shift if you are burning the window, and pan the map with middle mouse if you forgot which corner shredded you.
The event does not reset the car to showroom spec between heats. Oil that was low stays low. A tired plug still misfires. A wheel sitting on the dirt stays there until you mount something. That is why the getting started walkthrough keeps sending you to buy a spare before your first real booking.
Treat the three heats as one job with two pit stops. Heat one teaches the surface. Heat two spends whatever you failed to pack. Heat three is the payout, but only if the car can still turn a wheel. Players who wrench like it is a single sprint leave money on the table and rubber on the shoulder.
The spare tire is not a trunk item
Talk to Boris if the prologue left the spare looking like flavor text. One spare mounted on the roof does not eat trunk cubes. When you reset during a race, that roof spare auto-mounts. That single rule is the difference between a DNF and a messy finish.
The tutorial tire is already tired. Do not treat the rubber you spawned with as a plan. In the tutorial store a wheel can cost around 500 — enough to empty a fresh wallet if you also impulse-buy furniture. Buy the spare first. Pull the worn wheel, keep it only if it still has life as a backup, and install the new one. You can pick up the old tire and install it on the roof as the spare. That is the intended loop, not a workaround.
If you reset without a roof spare, you are hoping the remaining three corners will hold. They will not on a hole-punched dirt stage, and they will not after a contact heat where someone tagged your rear. Mount the spare before you leave the garage, then confirm it is on the roof, not lost in a corner of the workshop.
What to pack in the trunk
Space is the difficulty slider. Pack for three heats, not for a fantasy pit crew.
- Oil. Distance and heat cook the engine. Demo-era patches already cut engine wear and oil wear, but a three-race day still drinks fluid. A bottle in the trunk is cheaper than a car that will not pull in heat three.
- Spark plugs. Misfires do not always show as a giant broken-engine banner. They show as a beater that will not leave a slow corner. Plugs are small. Bring them.
- A second cheap wheel if you have the cube. The roof spare covers one reset. Contact events and potholes can ask for two. If the extra wheel does not fit, the roof spare plus conservative lines is the honest loadout.
- Whatever the next surface already demanded. If the booking is ice, the tires on the car should already match. The trunk is not a warehouse for a second full set unless you truly have the space. Read tuning before you double-stack rubber.
Air filters and other garage jobs belong at home when you can still walk to a shelf. If a filter is already dying and you have one cube left, take it. If the car is healthy, leave it. The parts tier list ranks the same order: spare, matching tires, oil, plugs, then luxury.
What NOT to pack
The trunk is not a display case.
- Garage furniture and hub junk. Those stay in the workshop. They do not fix a puncture.
- A second project’s leftover parts. Mixed piles waste cubes and make the interact prompt a lottery when the window is short.
- Cosmetic pieces you meant to fit later. Trim does not finish heat three.
- Four of everything. You will not perform a full engine-out between heats. You will change a wheel, dump oil, and swap a plug.
- The worn tutorial tire if a better spare already sits on the roof. Dead rubber is dead rubber.
If you are unsure, dump the trunk on the garage floor before you leave and pack again with the event in mind. Empty cubes are not a failure. They are proof you did not bring souvenirs to a race.
A practical between-heat routine
- Stop. Get out. Walk a lap around the car before you open a pile of items.
- Look at the tires first. A rim in the dirt is a spare-tire job, not an oil job.
- Interact, pull, store or fit. Do not throw a wheel into the void if it still has tread — but do not keep four bald ones either.
- Check oil if the car was hot or the stage was long.
- Only then look at plugs and filters.
- Get back in. You are on a timer even when the UI is polite about it.
Keyboard players should already have trunk cycling bound from the controls page. Pad players should set analog deadzone in the properties menu next to throttle and steering before a contact event, or the car will eat sidewalls while you “are not steering.”
Field repair is not only career
Online and LAN races wear parts the same way career does. A pretty car that enters a lobby with an empty trunk is a spectator after the first pileup. Local split-screen is the same physics with extra viewports. Pack as if you will not be allowed to teleport to the store. The multiplayer guide covers hosting; this page covers why the friend who never brings oil is the reason the session ends early.
Rest days still exist. If the car is cooked after two bookings, use a rest day from the career walkthrough instead of stuffing the trunk with optimism. Sponsorship cash from players is for the next honest loadout, not for a trunk full of furniture.
Field repair is the skill that makes a three-heat book feel fair: not a repair minigame for its own sake, but a packing puzzle that decides whether you still have a car when the third grid forms. Leave with a mounted roof spare, fluid in the sump, and cubes you did not waste. That is a winning pit — even if the trophy is just enough cash for the next wheel.
Frequently Asked Questions
Quick answers to the most common BeaterCore questions.
Does the roof spare use trunk space?
No. One spare on the roof does not eat trunk cubes, and it auto-mounts when you reset during a race. Pack oil and plugs in the trunk instead.
What should I buy before my first three-heat event?
A wheel. The tutorial store can charge around 500, and the starter tire is already worn. See getting started and garage repair.
Can I fully rebuild the car between heats?
No. The window is for wheels, oil, and plugs you already packed. Deep work stays in the garage.
Do online races still need a packed trunk?
Yes. Online and LAN wear parts the same way as career. Empty trunks fail after contact — details in multiplayer.